We use cookies to provide you with a great user experience. By using our site, you accept our use of cookies. You can review our cookie and privacy policy here.
  • Service & Support

    Contact Us

    Our Customer Service team is available from 8am to 6:00pm, ET, Monday through Friday. Live chat is available from 8am to 5:30pm ET, Monday-Friday.

    Call:
    800.334.5551
    Fax:
    800.222.7112
    Email:
    Email Customer Service
    Chat:
    Live Chat
     

    International Sales & Service

    We serve educators in more than 170 countries worldwide. Create a quote request on our website or contact our International Sales Team.

    International Ordering
  • Shopping
    Lists

    Login or register now to maximize your savings and access profile information, order history, tracking, shopping lists, and more.

  • Quick
    Order
  • My Cart
    0

    My Cart

    Your Shopping Cart is currently empty. Use Quick Order or Search to quickly add items to your order!
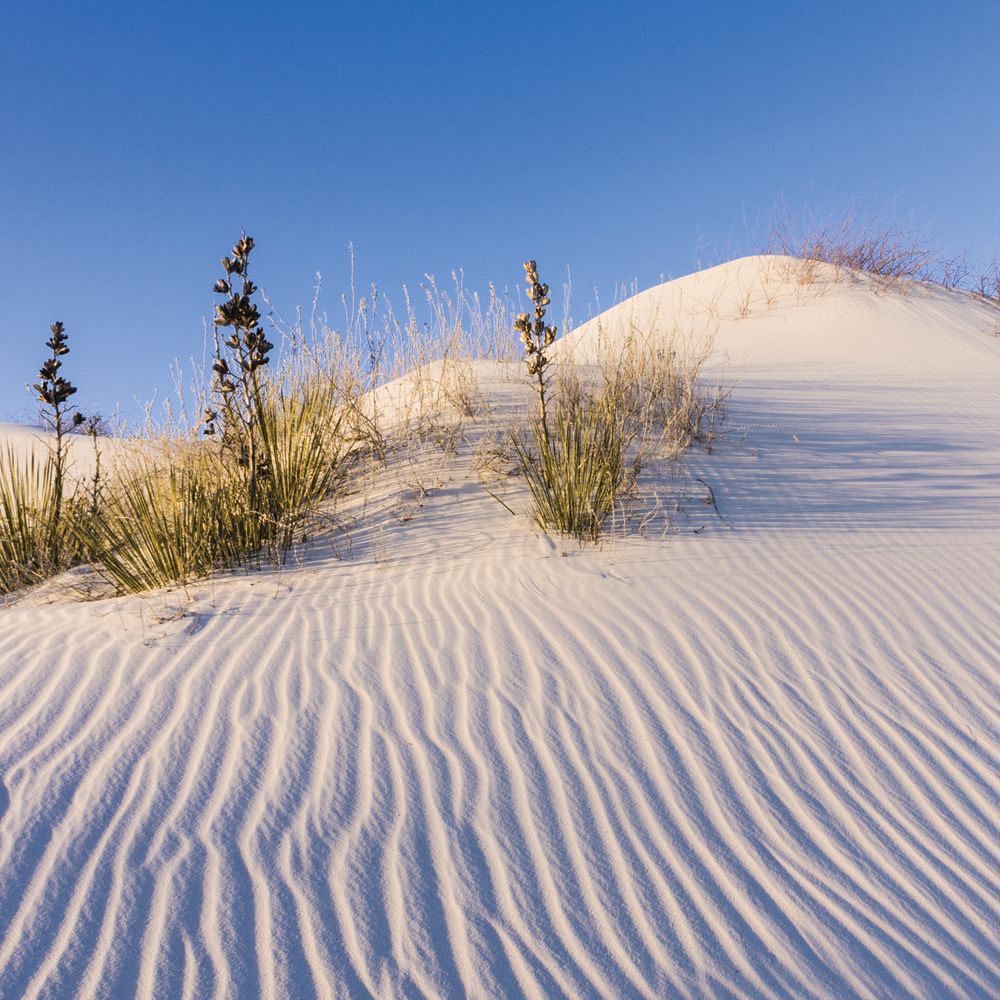
Sand Dune Erosion in a Box Top

sand dune

Sand particles, and the dunes they form, are moved by wind and water in a process called erosion. In nature, the interacting forces of erosion can be quite complex. However, this activity for elementary and middle school students demonstrates the concept and effects of erosion simply and inexpensively using found materials. This activity meets the following national standard for elementary and middle school earth and space science: Properties of Earth Materials.

Materials

  • A wind source (e.g., a blow dryer or air mattress inflator)
  • Blue food coloring
  • Red food coloring
  • Sand with diverse grain sizes (1 L per student group)
  • Tops from copier paper boxes

Preparation (instructor)

  1. Divide your class into working groups of 3–4 students each.
  2. For each group of students, color 250 mL of sand with 7 drops of the red food coloring and color another 250 mL of sand with 7 drops of the blue food coloring.
  3. Allow the sand to dry completely before using it. If time is limited, you can dry it in an oven. Be sure to allow the sand to cool before giving it to your students.
  4. Provide each group with 250 mL of red sand, 250 mL of blue sand, 500 mL of uncolored sand, a box top, and a wind source (which can be shared between groups if necessary).

Caution: If you intend to use a blow dryer as your wind source, use it with the heat off and instruct your students to do likewise.

Note: This activity usually results in fine sand landing outside of the box top. If weather permits, perform the experiment outdoors to reduce the cleanup effort.

Procedure (students)

  1. Place the copier paper box top upside down on a flat surface.
  2. Cut or tear 2 corners of the box top lip at one end of the box top. Press the loose section of the lip down flat. The other 3 sections of the lip should remain standing.
  3. Create a "dune" by pouring the red sand in a straight line across the open end of the box top. The dune should be about 8 cm wide and 2 cm deep.
  4. Using the blue sand, create another dune of the same size behind and adjacent to the red one.
  5. Using the uncolored sand, create 2 more dunes, each the same size as the previous ones, behind and adjacent to the blue one.
  6. Predict how the sand will be affected by a horizontal wind blowing directly into the dunes.
  7. Use the wind source to create a horizontal wind blowing directly into the dunes. Start with a fairly low wind speed and then increase it. Continue until about half the red sand has been eroded. Note any changes in the behavior of the dunes and the particles of sand at different wind speeds.
  8. Observe the distribution of the colored sand particles. Are there any differences in the distributions of the red and blue particles? Are there any differences in the distributions of particles of different sizes?

Extension activities and questions

  1. How does the shape of the dunes affect their erosion? Investigate by building semicircular or serpentine model dunes and applying wind to them.
  2. How do changing wind directions affect dune erosion? Find out by blowing wind across the dunes from different directions.
  3. How does water influence wind erosion of the dunes? Spray the dunes with varying amounts of water before applying wind to them. Note: The food dyes are water-soluble and may separate from the colored sands. Take precautions to avoid stains.
  4. How do plants influence dune erosion? Use dried lichens to model shrubs on your dunes. Apply wind to the dunes and see what effect the shrubs have on erosion.
  5. Do plants act only as barriers at the surface, or do their roots also affect dune erosion? Look into this question by partially burying a shrub in a dune and setting another shrub on the surface. Apply wind to the dune and then compare the erosion around the 2 shrubs to see if there is a difference.

Internet resources

Carolina is your source for exemplary earth science teaching tools

If earth science is your world, we've got it covered. Our product developers and product managers strive to offer you the best earth science teaching tools available. Below is a brief selection of tools to complement or expand upon this month's activity, but be sure to explore our online or print catalog for more exciting possibilities!

  • The Sedimentator™ Model river erosion and sedimentation quickly and dramatically with this inexpensive and easy-to-use set. Includes background information for students and teachers plus recommended activities.
Loading...