My Cart
Your Shopping Cart is currently empty. Use Quick Order or Search to quickly add items to your order!
Chaise Swisher
Career and Technical Education Teacher, Elkin High School, Elkin, NC
Felicia Cherry
Product Manager, Physical & Earth Sciences, Physics
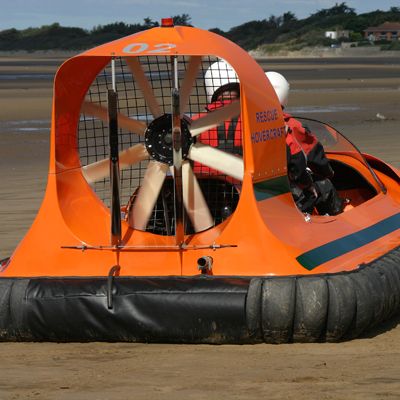
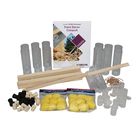
Through designing and building hovercrafts, students become involved with science through research and gathering ideas for improvements. Science, technology, engineering, and math are all part of the experience. In the end, students learn from one another, enjoy the process, and take pride in creating a masterpiece of their own.
Technology and engineering blend together as students use tools and work with their hands in development of the hovercraft. You can incorporate computer technology throughout the activity as students develop a working drawing with specific and precise measurements. Common mathematical terms used are diameter and radius. Also, this project provides a good opportunity to teach specific measurements, to make sure students know how to use a tape measure or ruler, and to help them learn the difference visually between 1/16", 1/8", 1/4", and 1/2".
Use the completed hovercrafts not only to discuss science topics such as forces and motion, but also to discuss the universal systems model within technology (input, process, output, and feedback). The last step, feedback, is a place to help foster 21st-century skills. Ask students to communicate their results through a presentation that clearly lays out each of the 12 steps in the engineering design portfolio:
Conduct this project only in accordance with established safety practices, including appropriate personal protective equipment (PPE) such as goggles and other protective wear as needed. Ensure that students understand and adhere to these practices.
Demonstrate the protocol for correctly using the machinery, tools, and equipment necessary to complete the activities, and emphasize the importance of proper usage. Model proper safety practices for your students and require them to adhere to all safety rules. Closely supervise students who operate the machinery, tools, and equipment.
Use a gasoline-powered blower or power source outside only. If students work indoors, an electric motor is necessary.
The Internet is always a good starting point for information on how to build a hovercraft. Here are some video resources used for Mr. Swisher’s class projects:
Note: You can use a smaller piece of plywood instead of the paint can lid. Simply drill a hole all the way through the hovercraft and hold the pieces of plywood together with a nut and bolt.