Please enter your email address and password to access your account.
Added to List
The following products were added to your list(s):
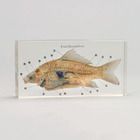
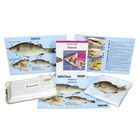
Perch Dissection
The yellow perch is a freshwater member of the group Osteichthyes, or bony fishes. These preserved specimens are used to study typical fish anatomy in middle school classrooms to college vertebrate anatomy labs. Perch dissection requires minimal skill, few tools, and typically takes 1–2 class periods, depending on your preference.
Below is a brief survey of the internal and external anatomy of the perch. For more detailed dissection instructions and information, check out these dissection kits.
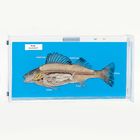
Obtain a dissecting tray and a set of dissecting instruments.
Lay the preserved perch on its side in the dissecting tray.
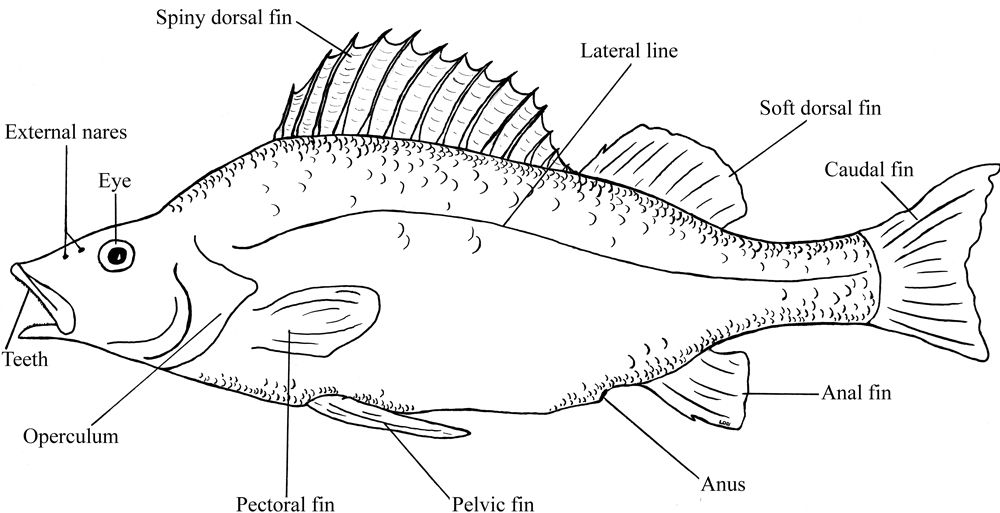
Use Figure 1 to identify the parts of the external anatomy.
Figure 1
Remove the skin from one side of the perch. With dissecting scissors and a blunt probe, separate the thin skin from the underlying muscle beginning just posterior to the head to the posterior edge of the anal fin.
Examine the perch’s muscles that occur in W-shaped blocks. Each block is called a myomere.
Expose the gills by lifting and removing the operculum. Follow the cuts indicated by the dotted line on Figure 2.
Figure 2
Locate the following structures of the gills: the branchial arch, gill rakers, and gill filaments.
Perch Internal Anatomy
Figure 3
Beginning at the point indicated by the arrow in Figure 3, make the incisions indicated by the dotted lines. As you cut, be careful not to damage the internal organs. When possible, leave the internal membranes intact and in place. Lift away the body wall.
Identify the structures shown on Figure 4.
Figure 4
If you have a female fish, the ovary may be enlarged with eggs. If so, remove the ovary to clearly see the other abdominal organs. It may also be necessary to do some extra trimming to see the kidney head, the urinary bladder, and the swim bladder. The kidney runs dorsal from the kidney head to the swim bladder as a thin bit of dark tissue. Fat will often be found in the membranes attached to the intestines.


 View
View